

How to Properly Ship Multiple Items to Pure

Shipping Guide after Selling on Pure (Multiple Items Edition)
While we already have an article on how to ship your items to Pure, this article is specifically for shipping a PO that has many different types of items, especially for Silver. Following this shipping guide helps us process orders faster and reduce delays.
Step 1: Gather and Bag Items
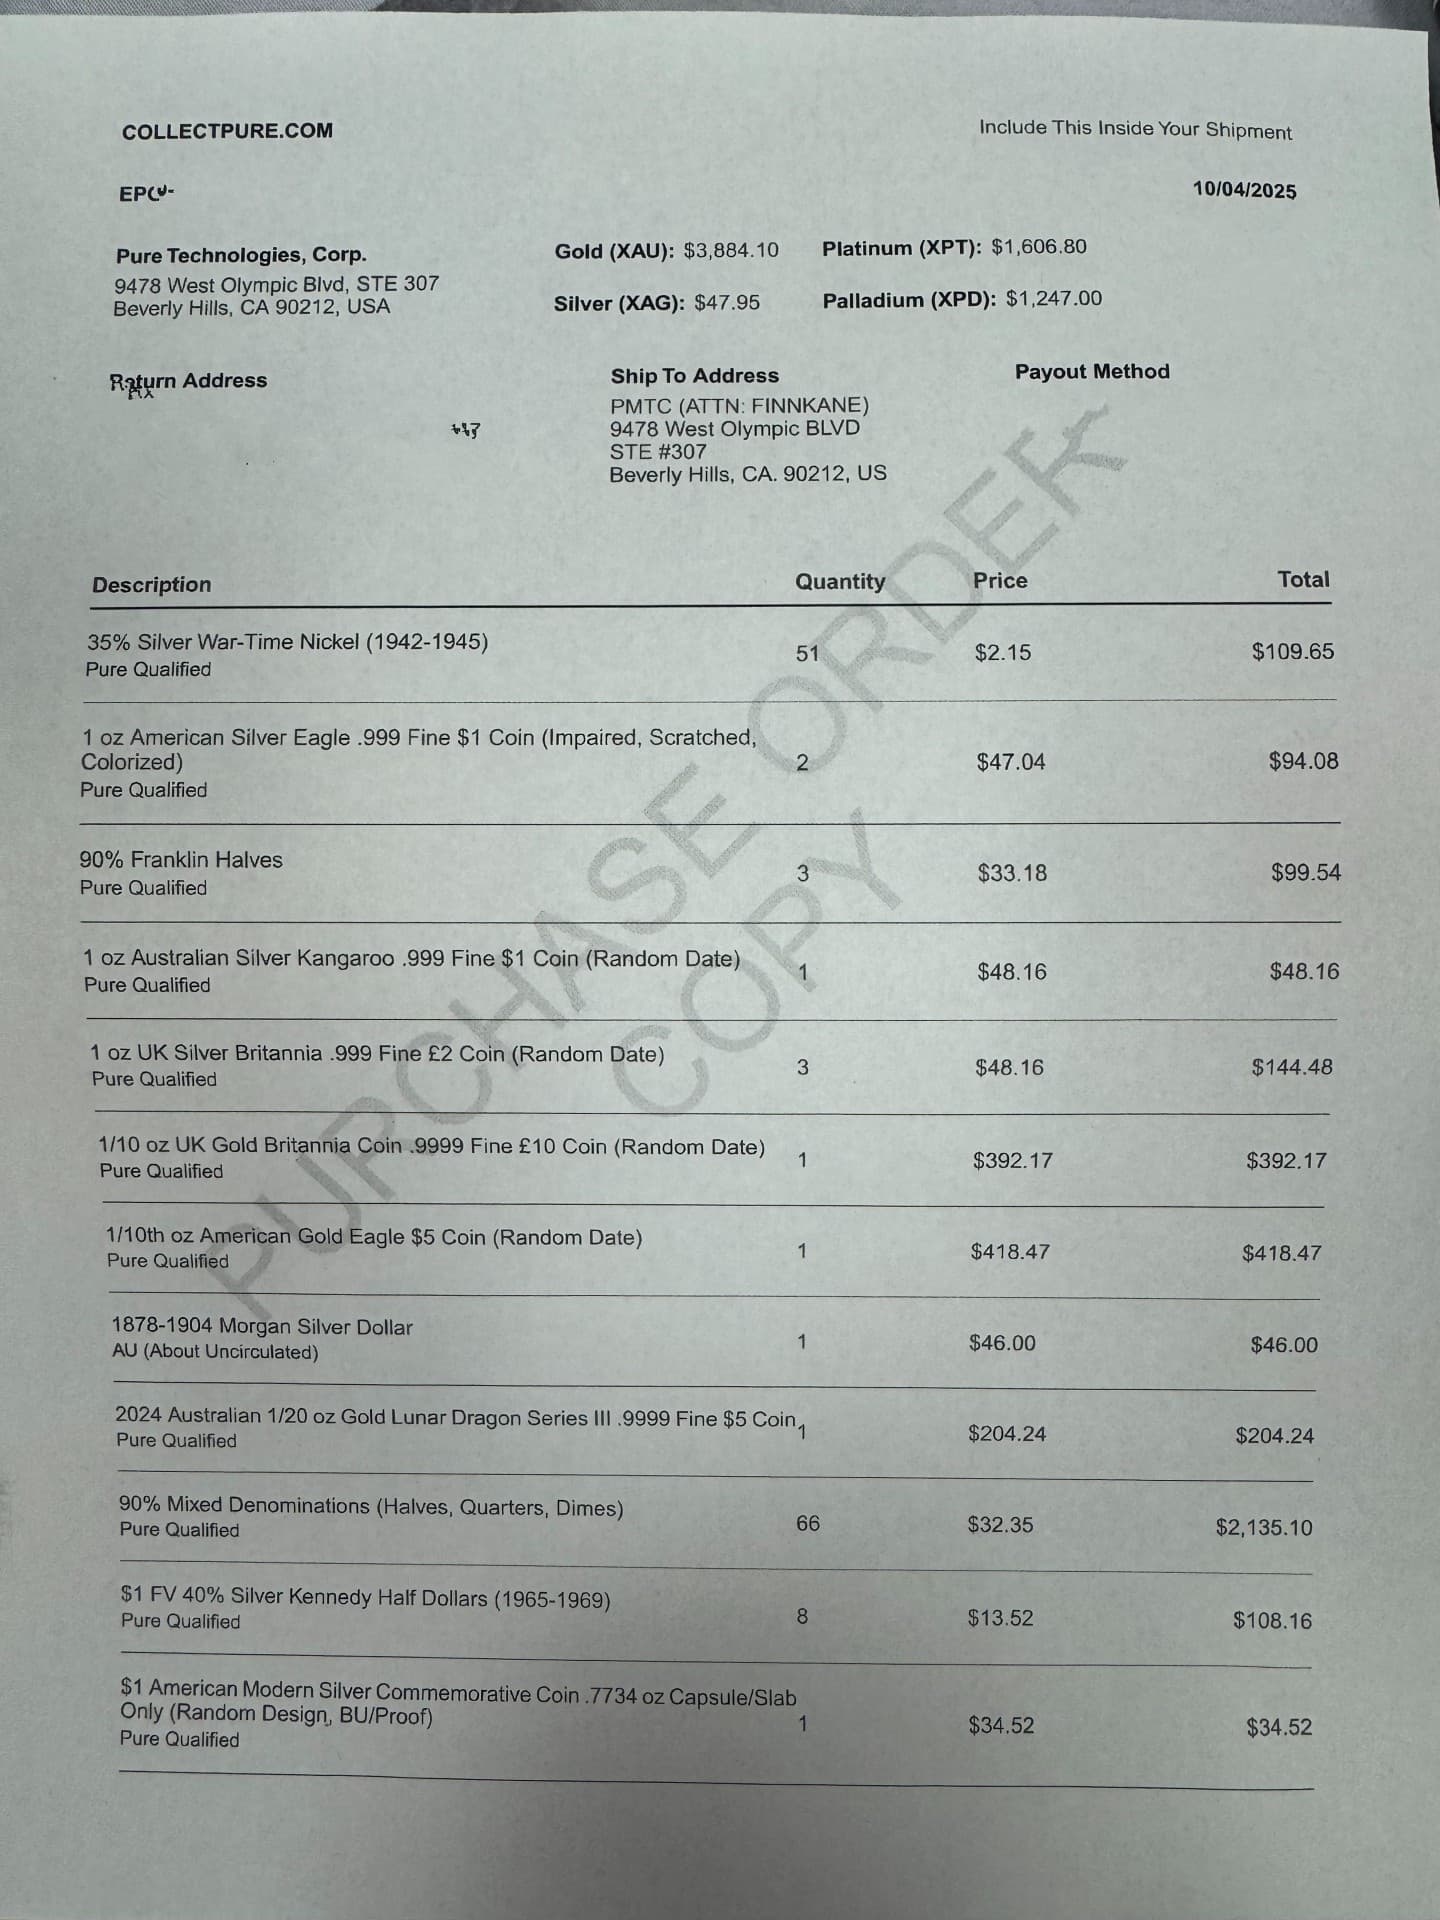
Begin by collecting all the items listed on the Purchase Order (PO). Please note: the example provided below contains 12 distinct items, but the actual number of items may vary depending on your specific PO.
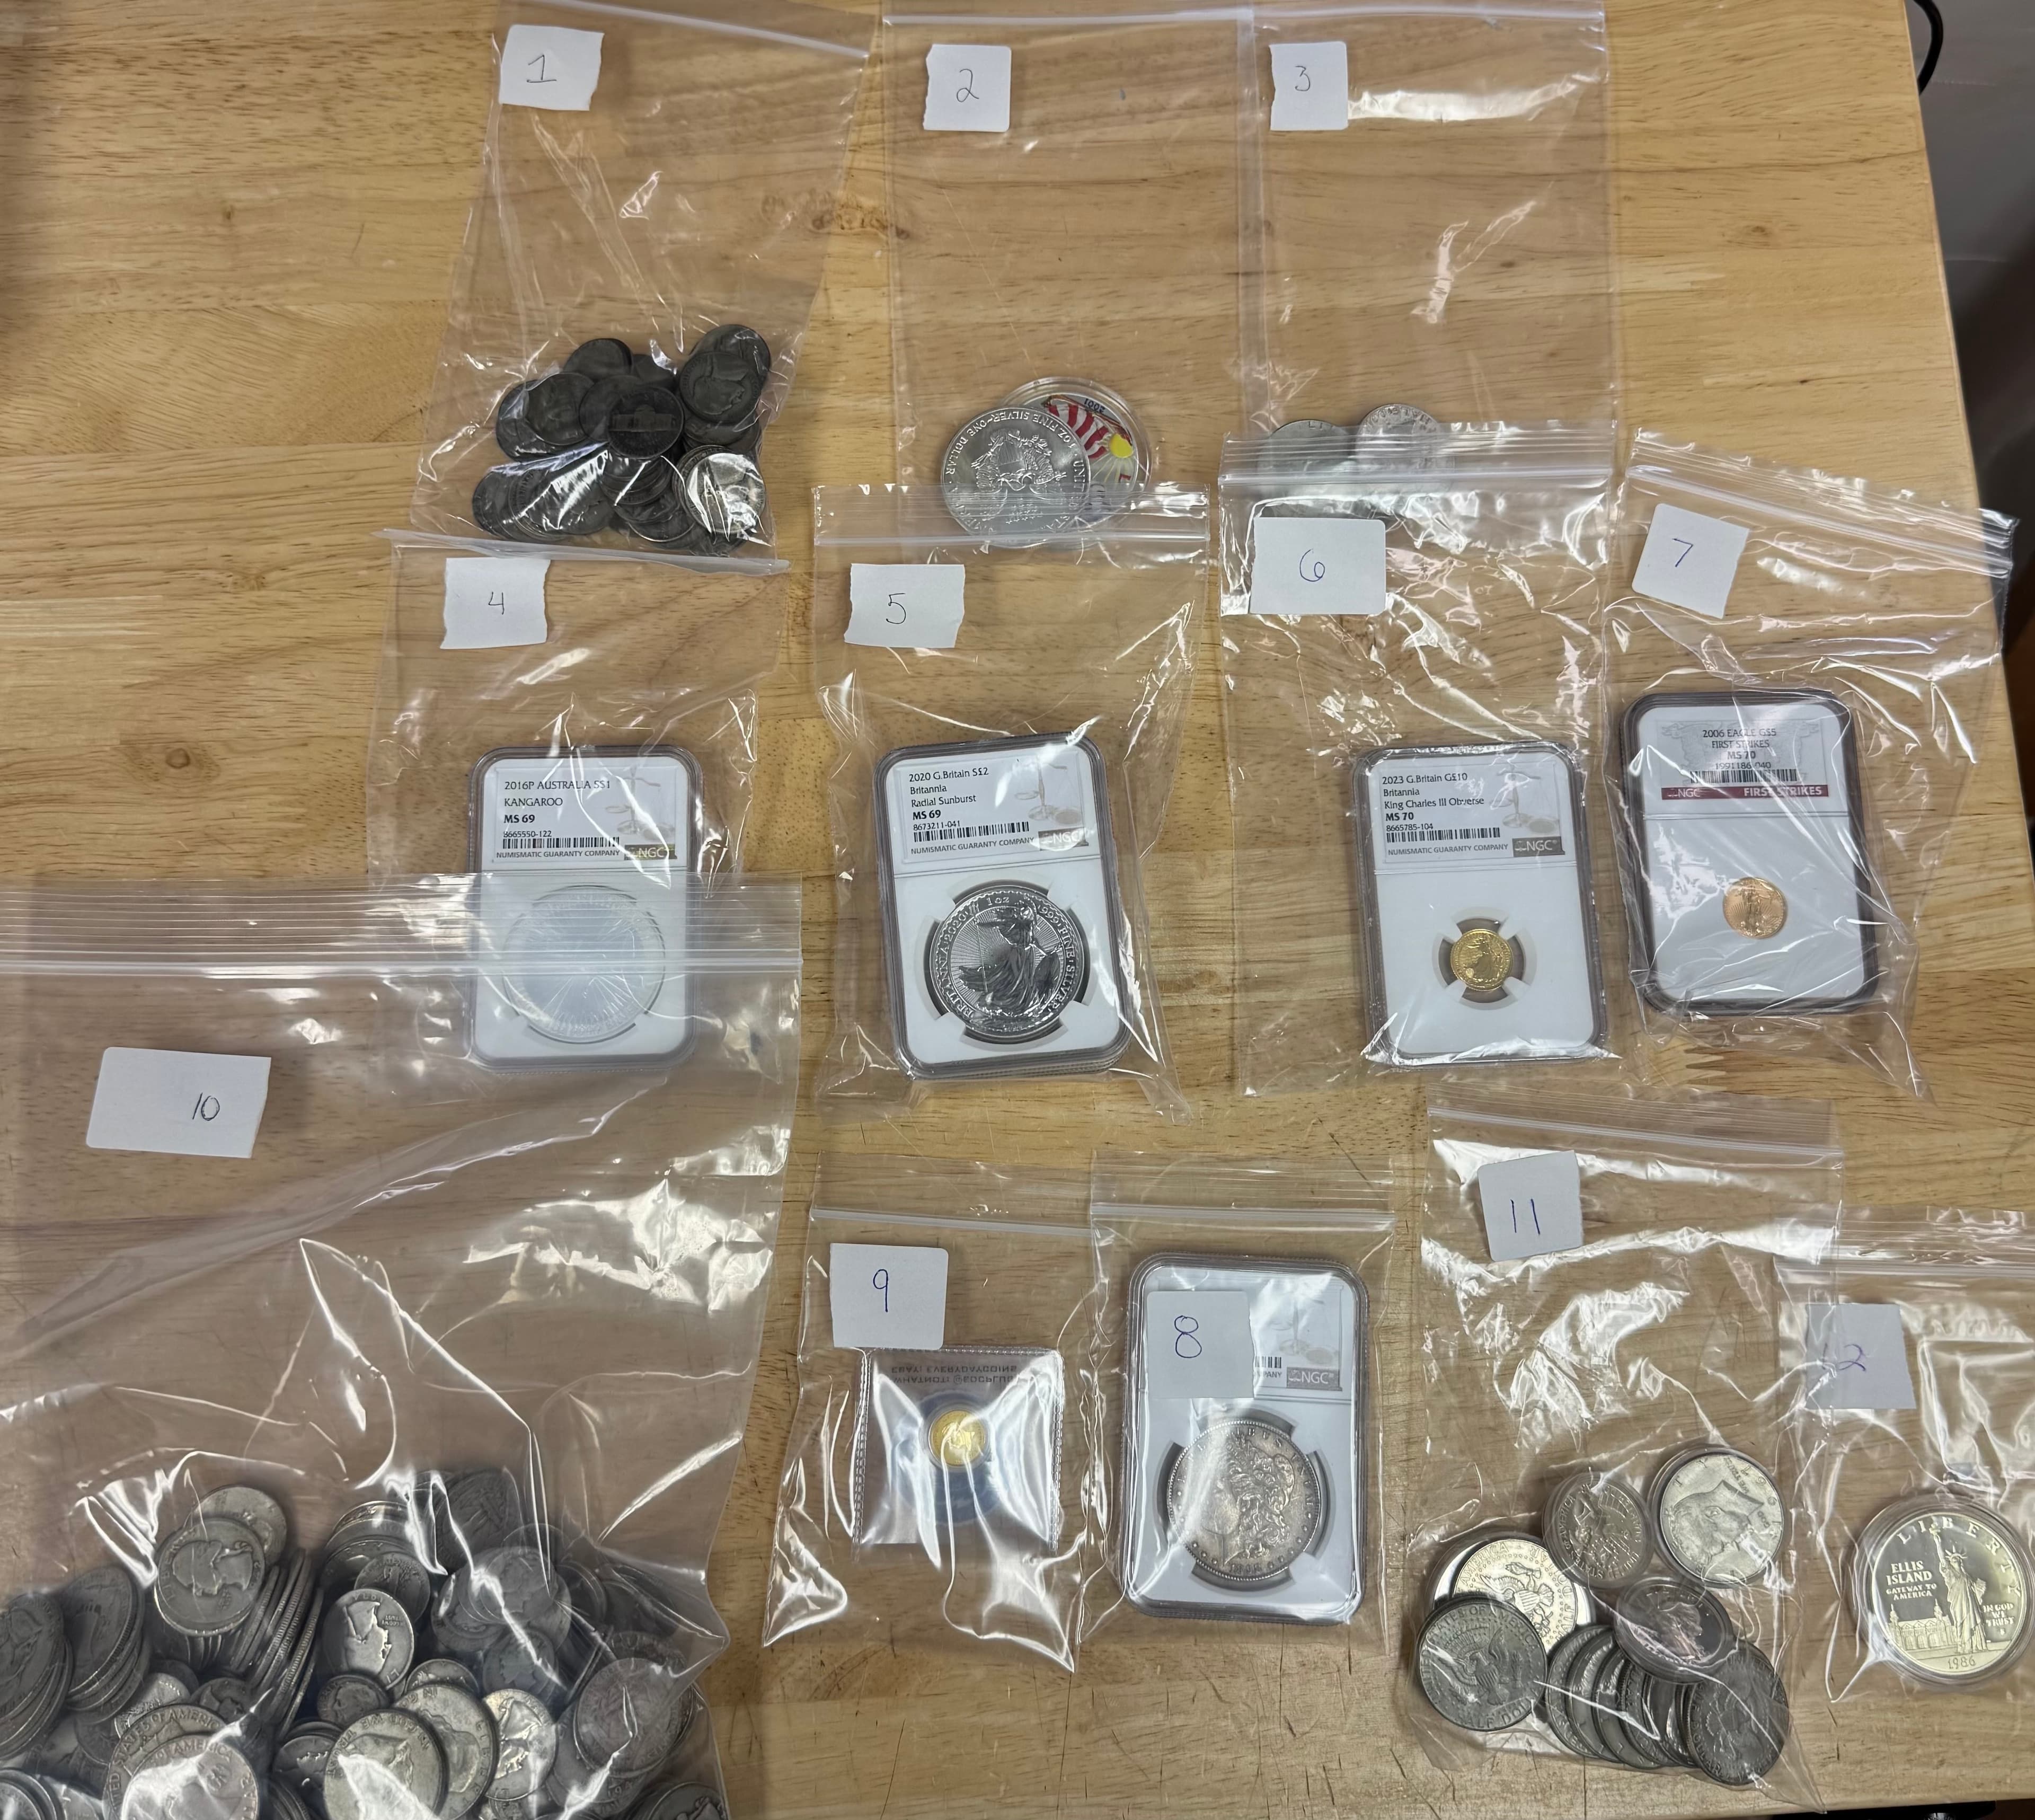
Each item type should be bagged separately—do not mix different items in the same bag. Once bagged, clearly label each bag with the corresponding line number from the PO. Refer to the second photo for an example of how each item has been properly bagged and labeled based on its line number.
Step 2: Print out your order's Packing Slip and Shipping Label.
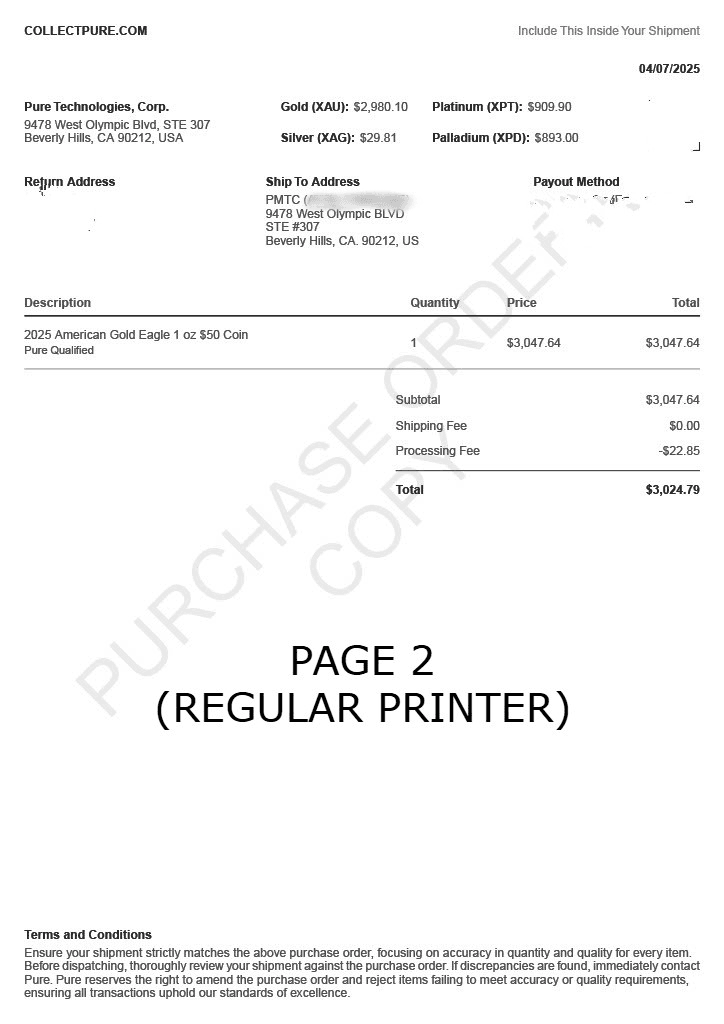
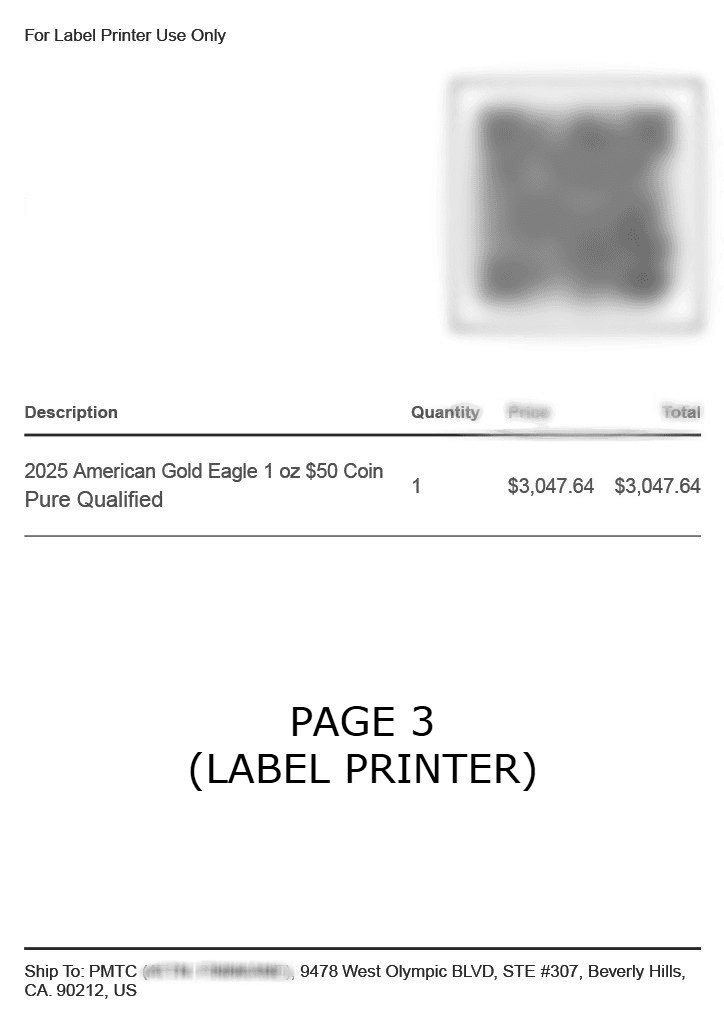
After you have a confirmed sale, you will be emailed a file that contains your packing slips and your shipping labels. The only pages that are required are the packing slips (either page 2 or page 3, you can use either or), the inner box label (page 5), and the outer box label (the last page). The difference between page 2 and page 3 is that one can be used for regular printers (page 2) and one can be used for label printers (page 3).
Step 3: Place the items and Packing Slip (Page 2 or Page 3) in the Inner Box
Place your items into the inner box along with the packing slip. You can place bubble wrap or papers if you feel the items may move around during shipment. Once you have placed the items and packing slip into the inner box, seal the box with clear tape and mark it with the date.
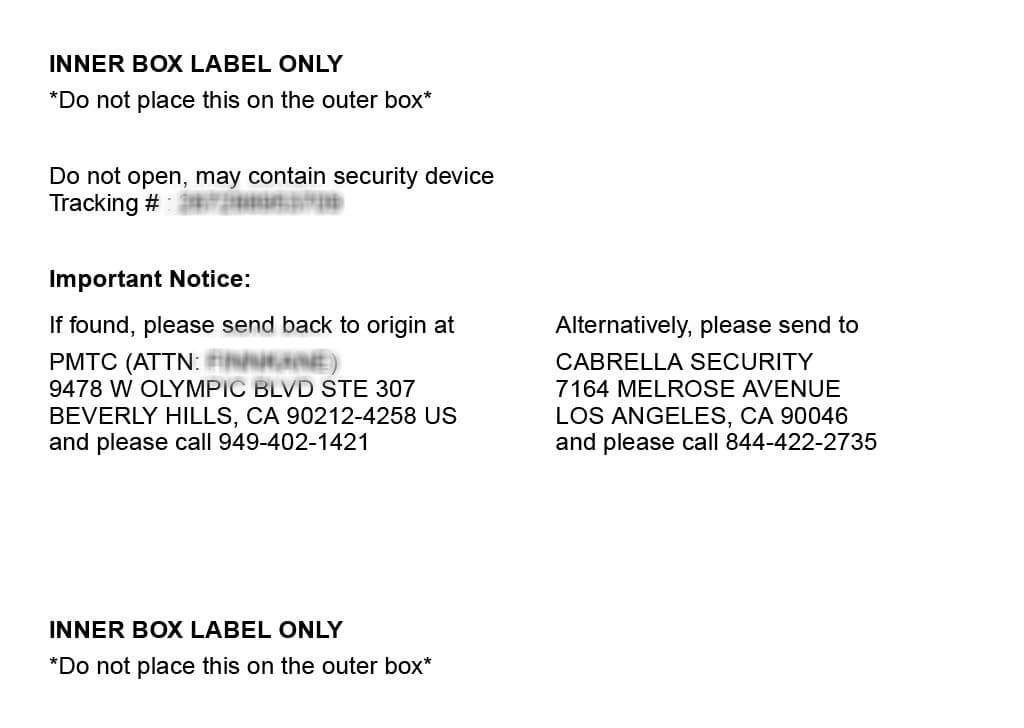
Step 4: Place the Inner Box Label (Page 5) on the outside of the Inner Box
Please attach the inner box label affixed to the inside box ONLY. The inner box label is page 5 of the pages you receive. For added measures, you can even add the shipping label (Page 6) to the inner box as well, you will still need to add the FedEx shipping label on the outer box if you do this.
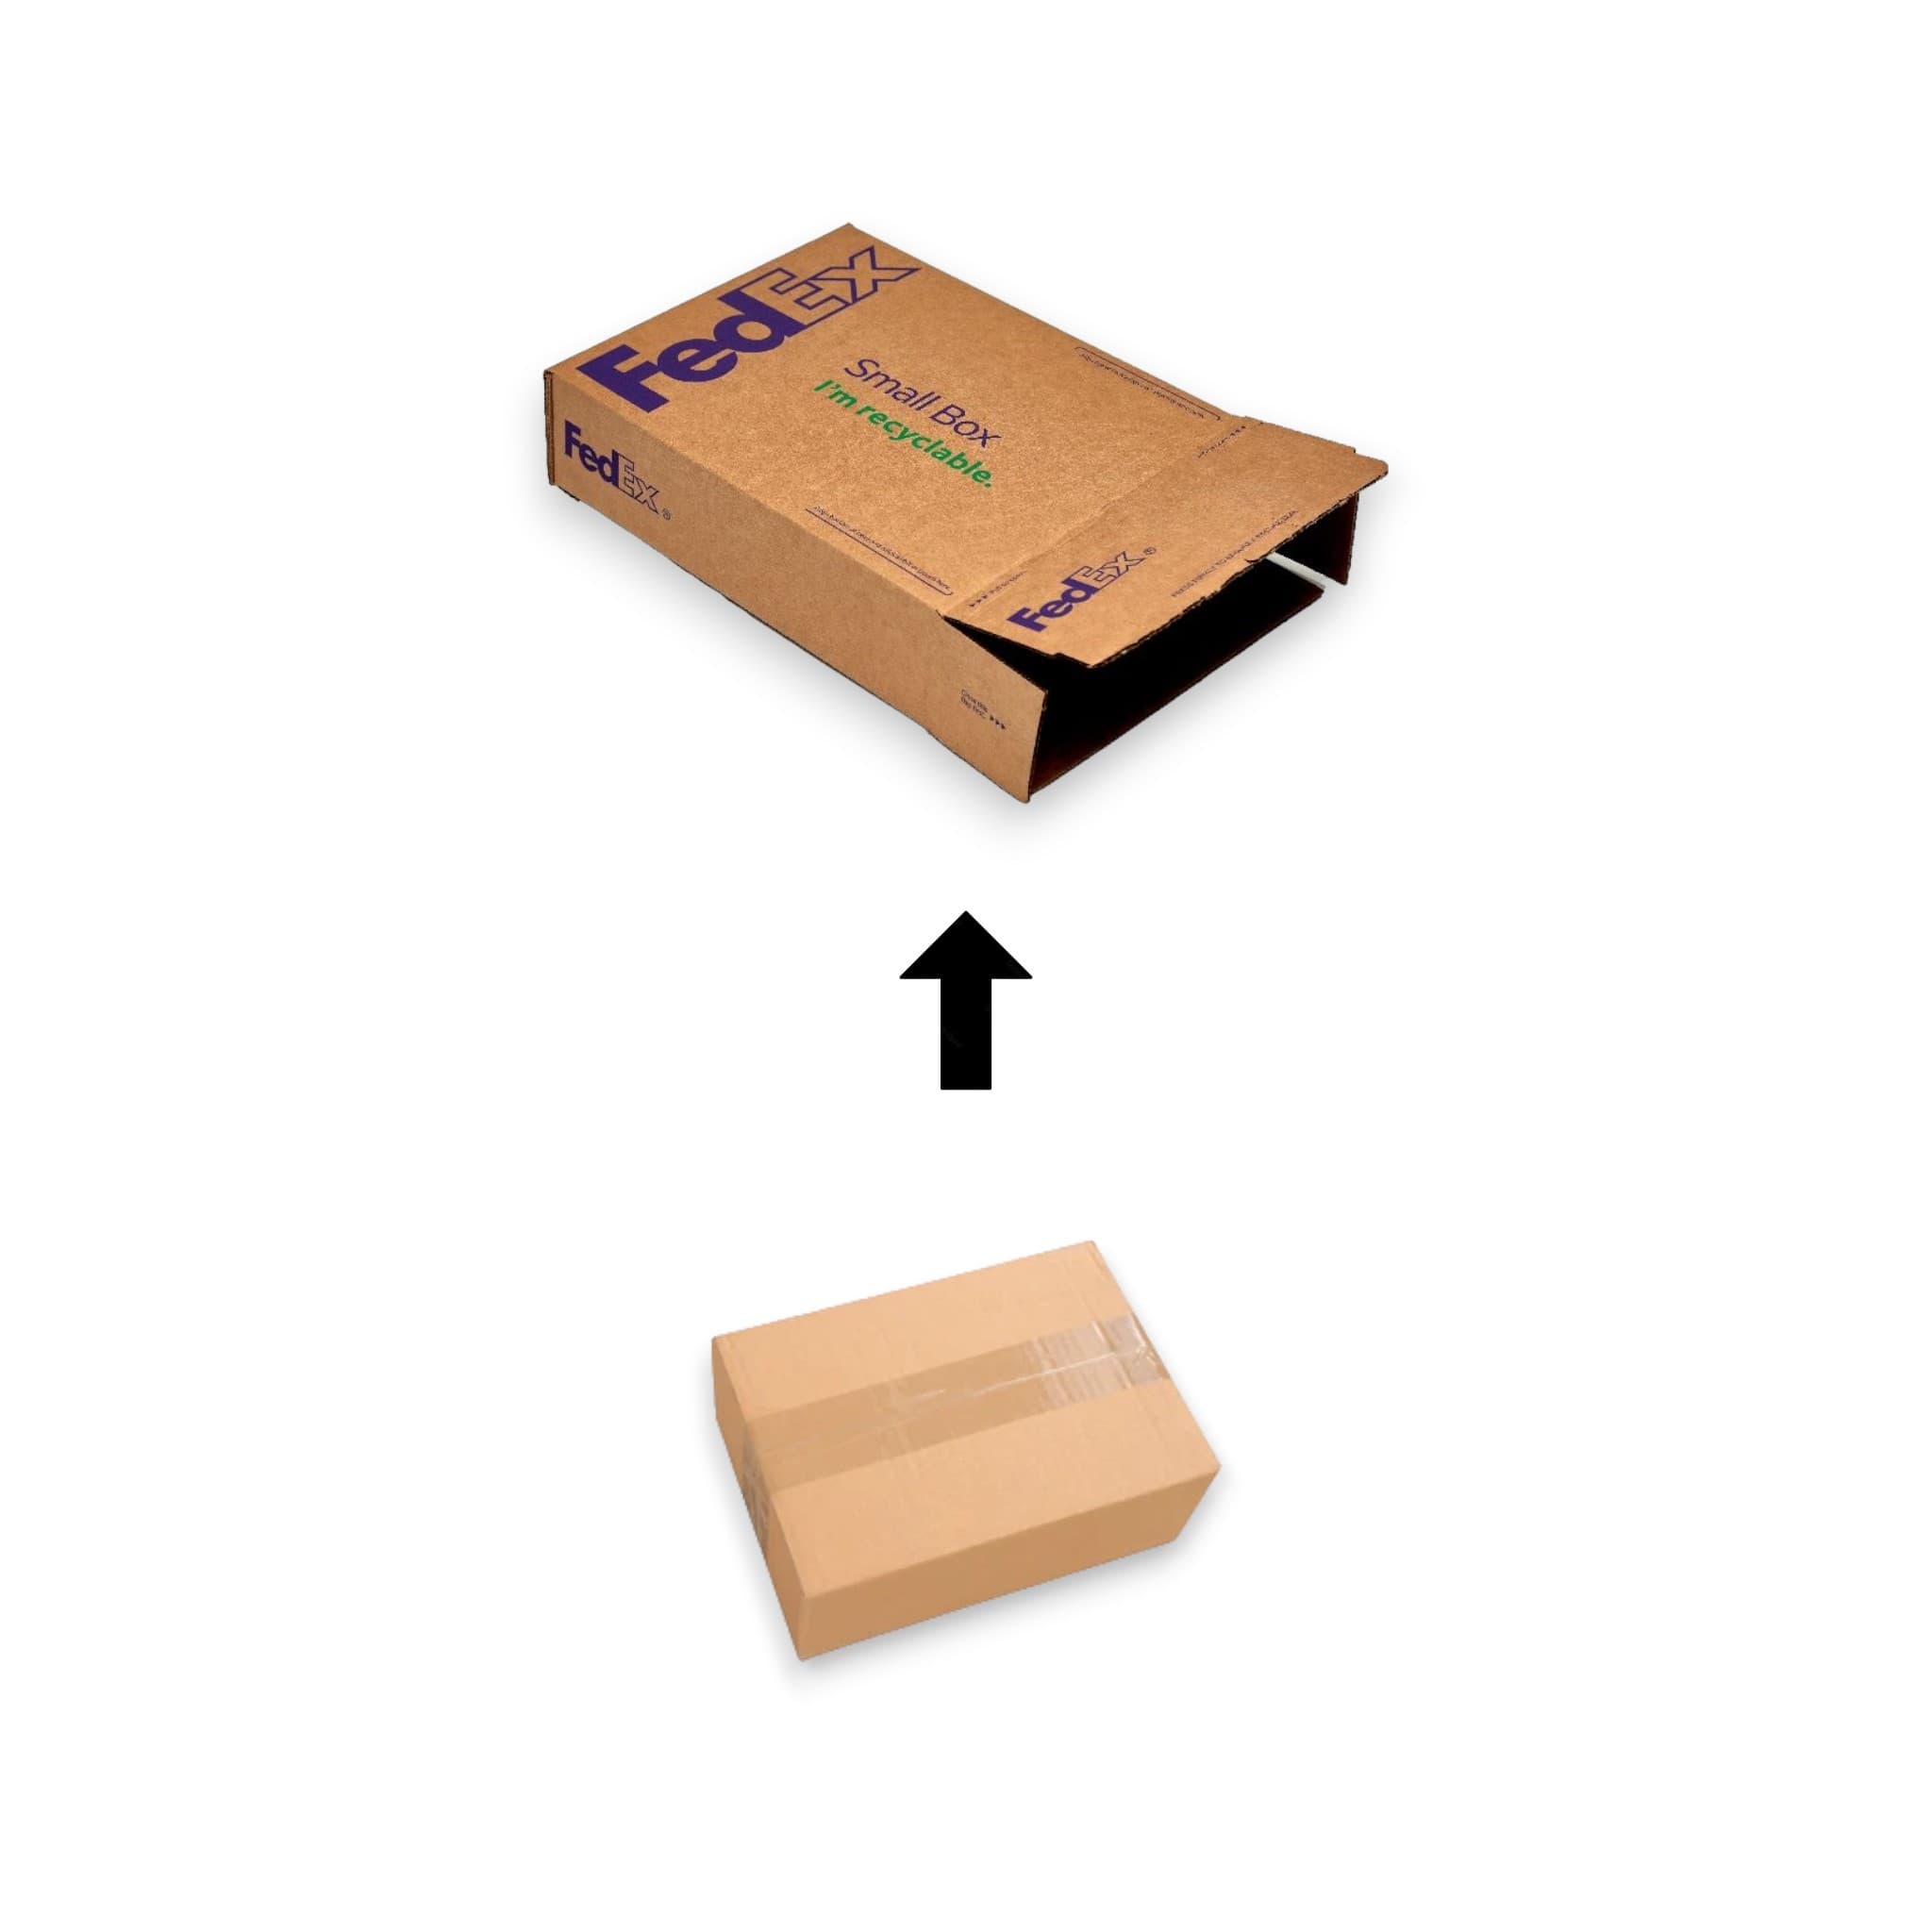
Step 5: Place the Inner Box inside the Outer Box and Seal it
Now that you have the inner box taped up, place the inner box inside of the outer box. This should be easy since your inner box is smaller than the outer box, if it is tight, then get a larger outer box. Once you have placed the inner box inside of the outer box, seal the outer box and make sure all corners are sealed.
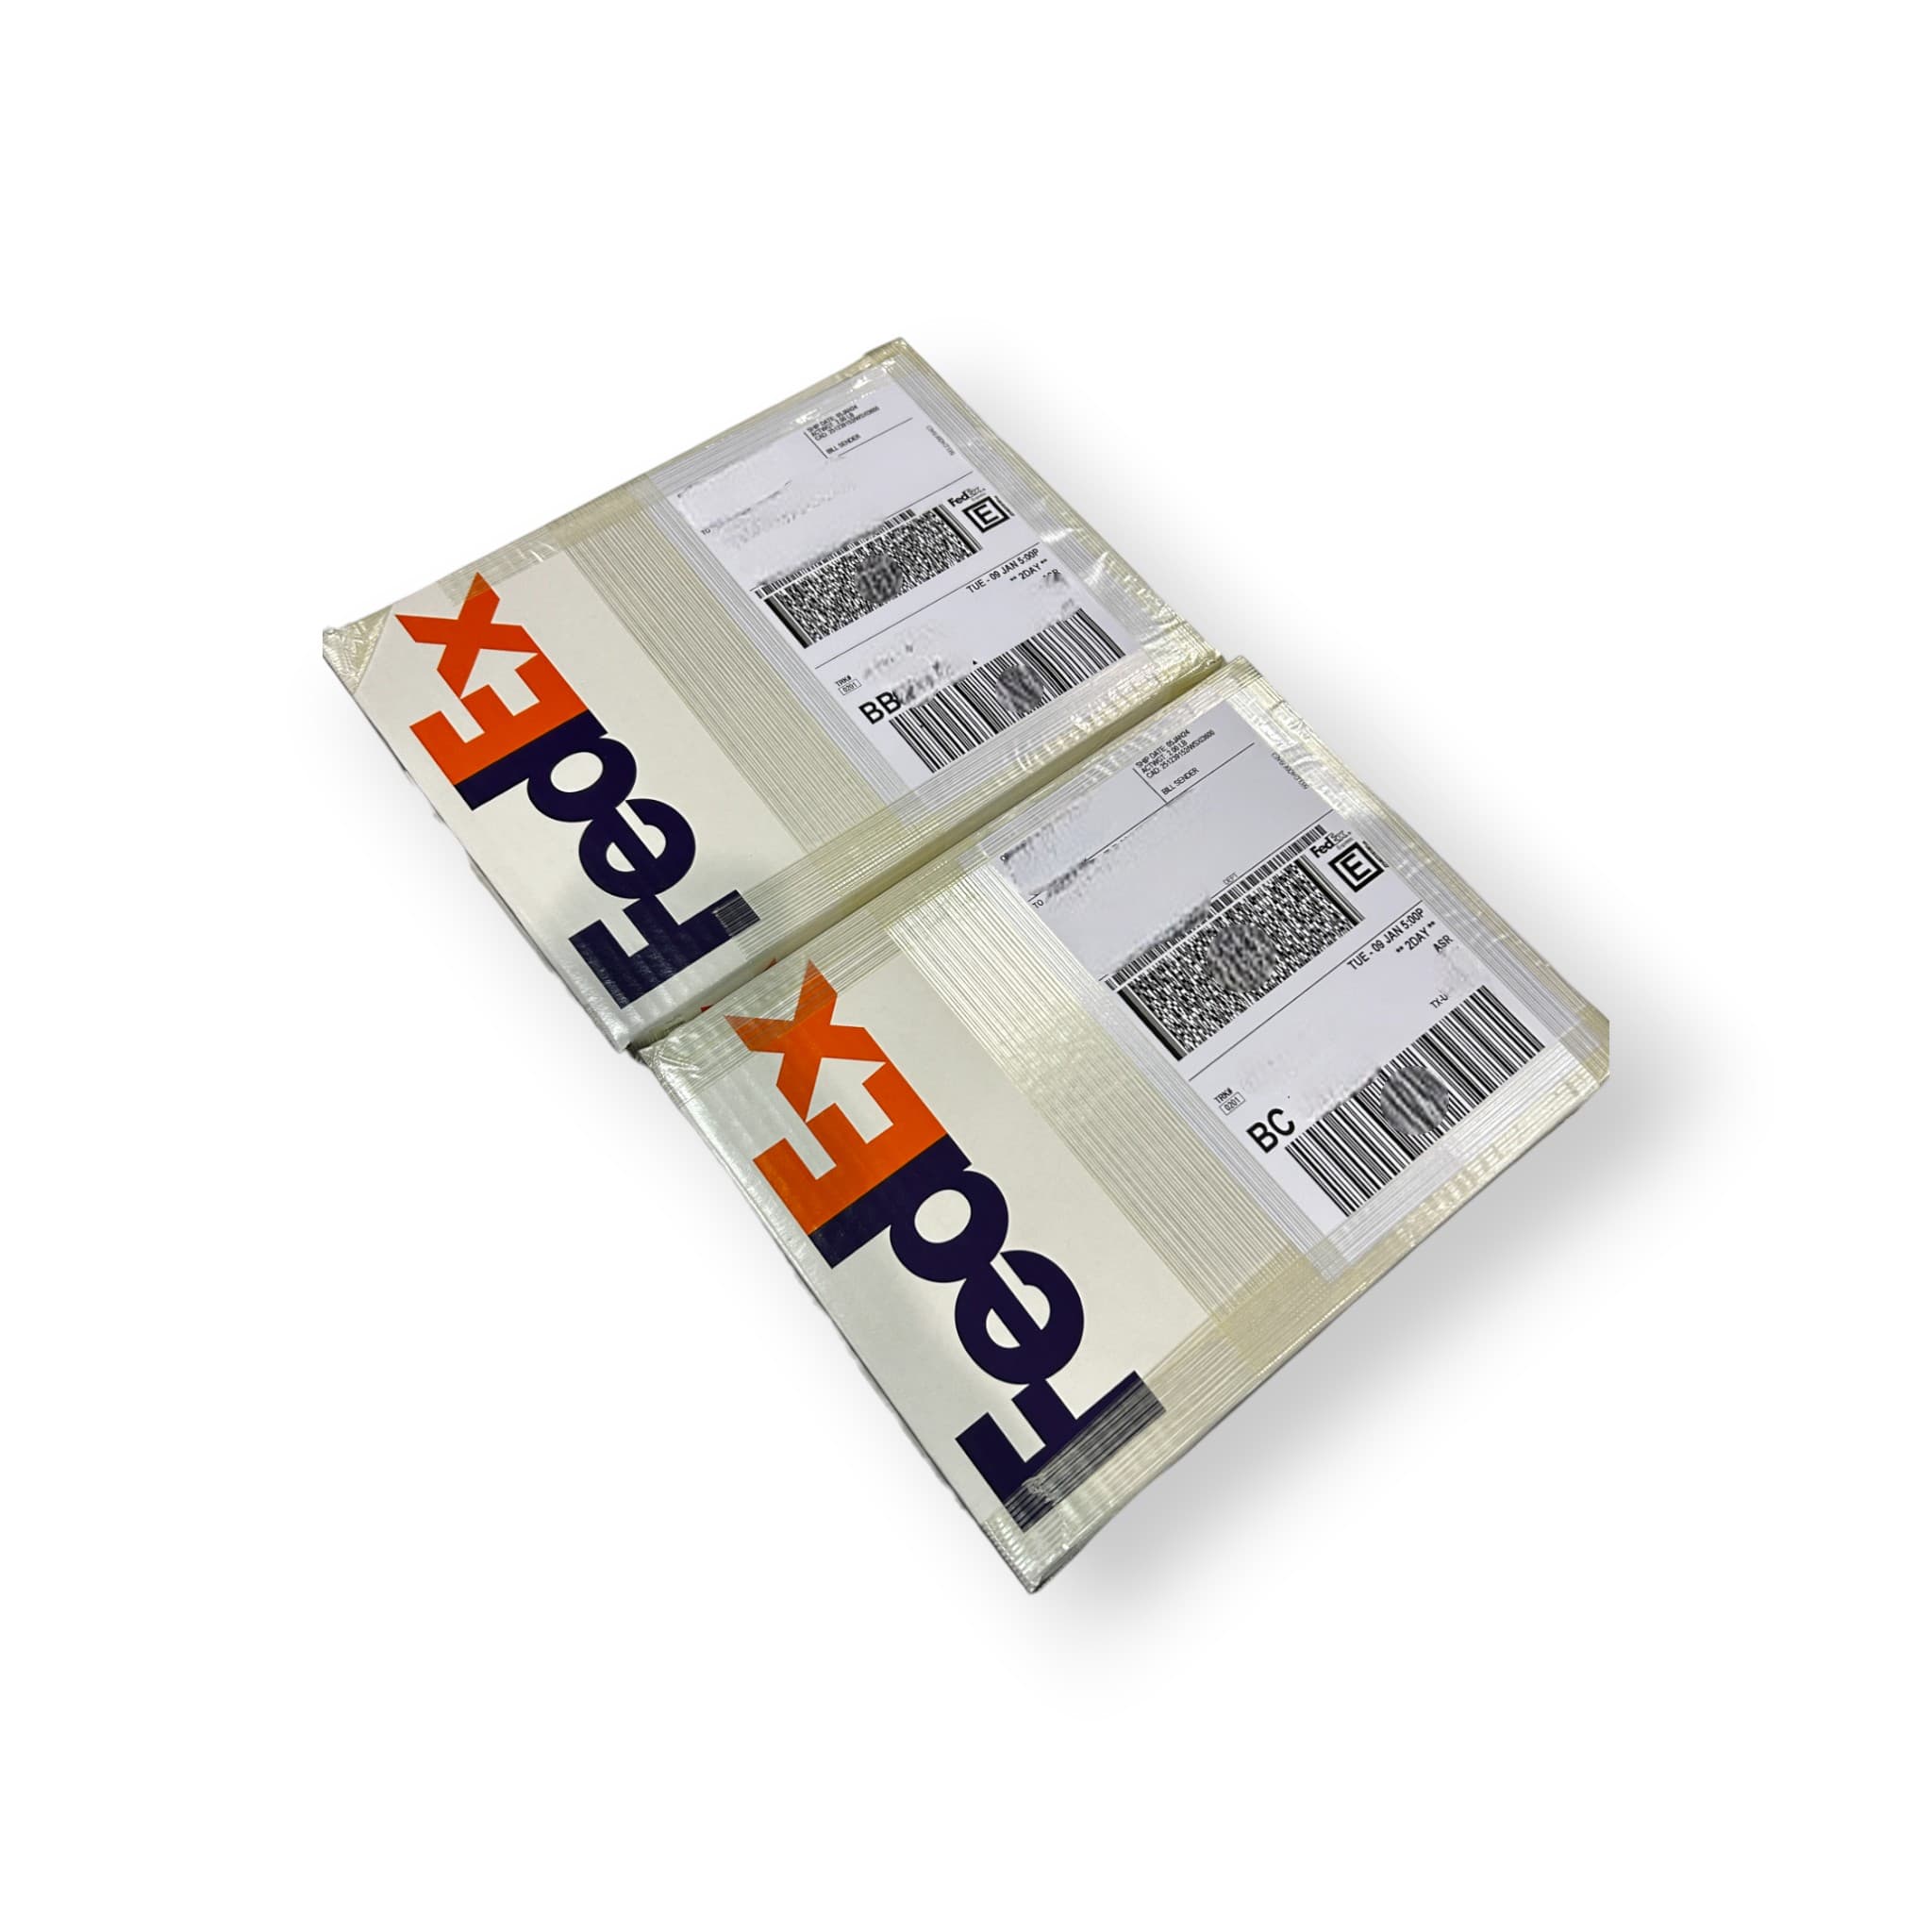
Step 6: Place the Shipping Label (Page 6) on the outside of the Outer Box
Attach the shipping label on the outer box and seal all corners of the shipping label with tape so that the label cannot be easily removed. We recommend taping the label on the outer box and not using a label slip so that it stays on the package.
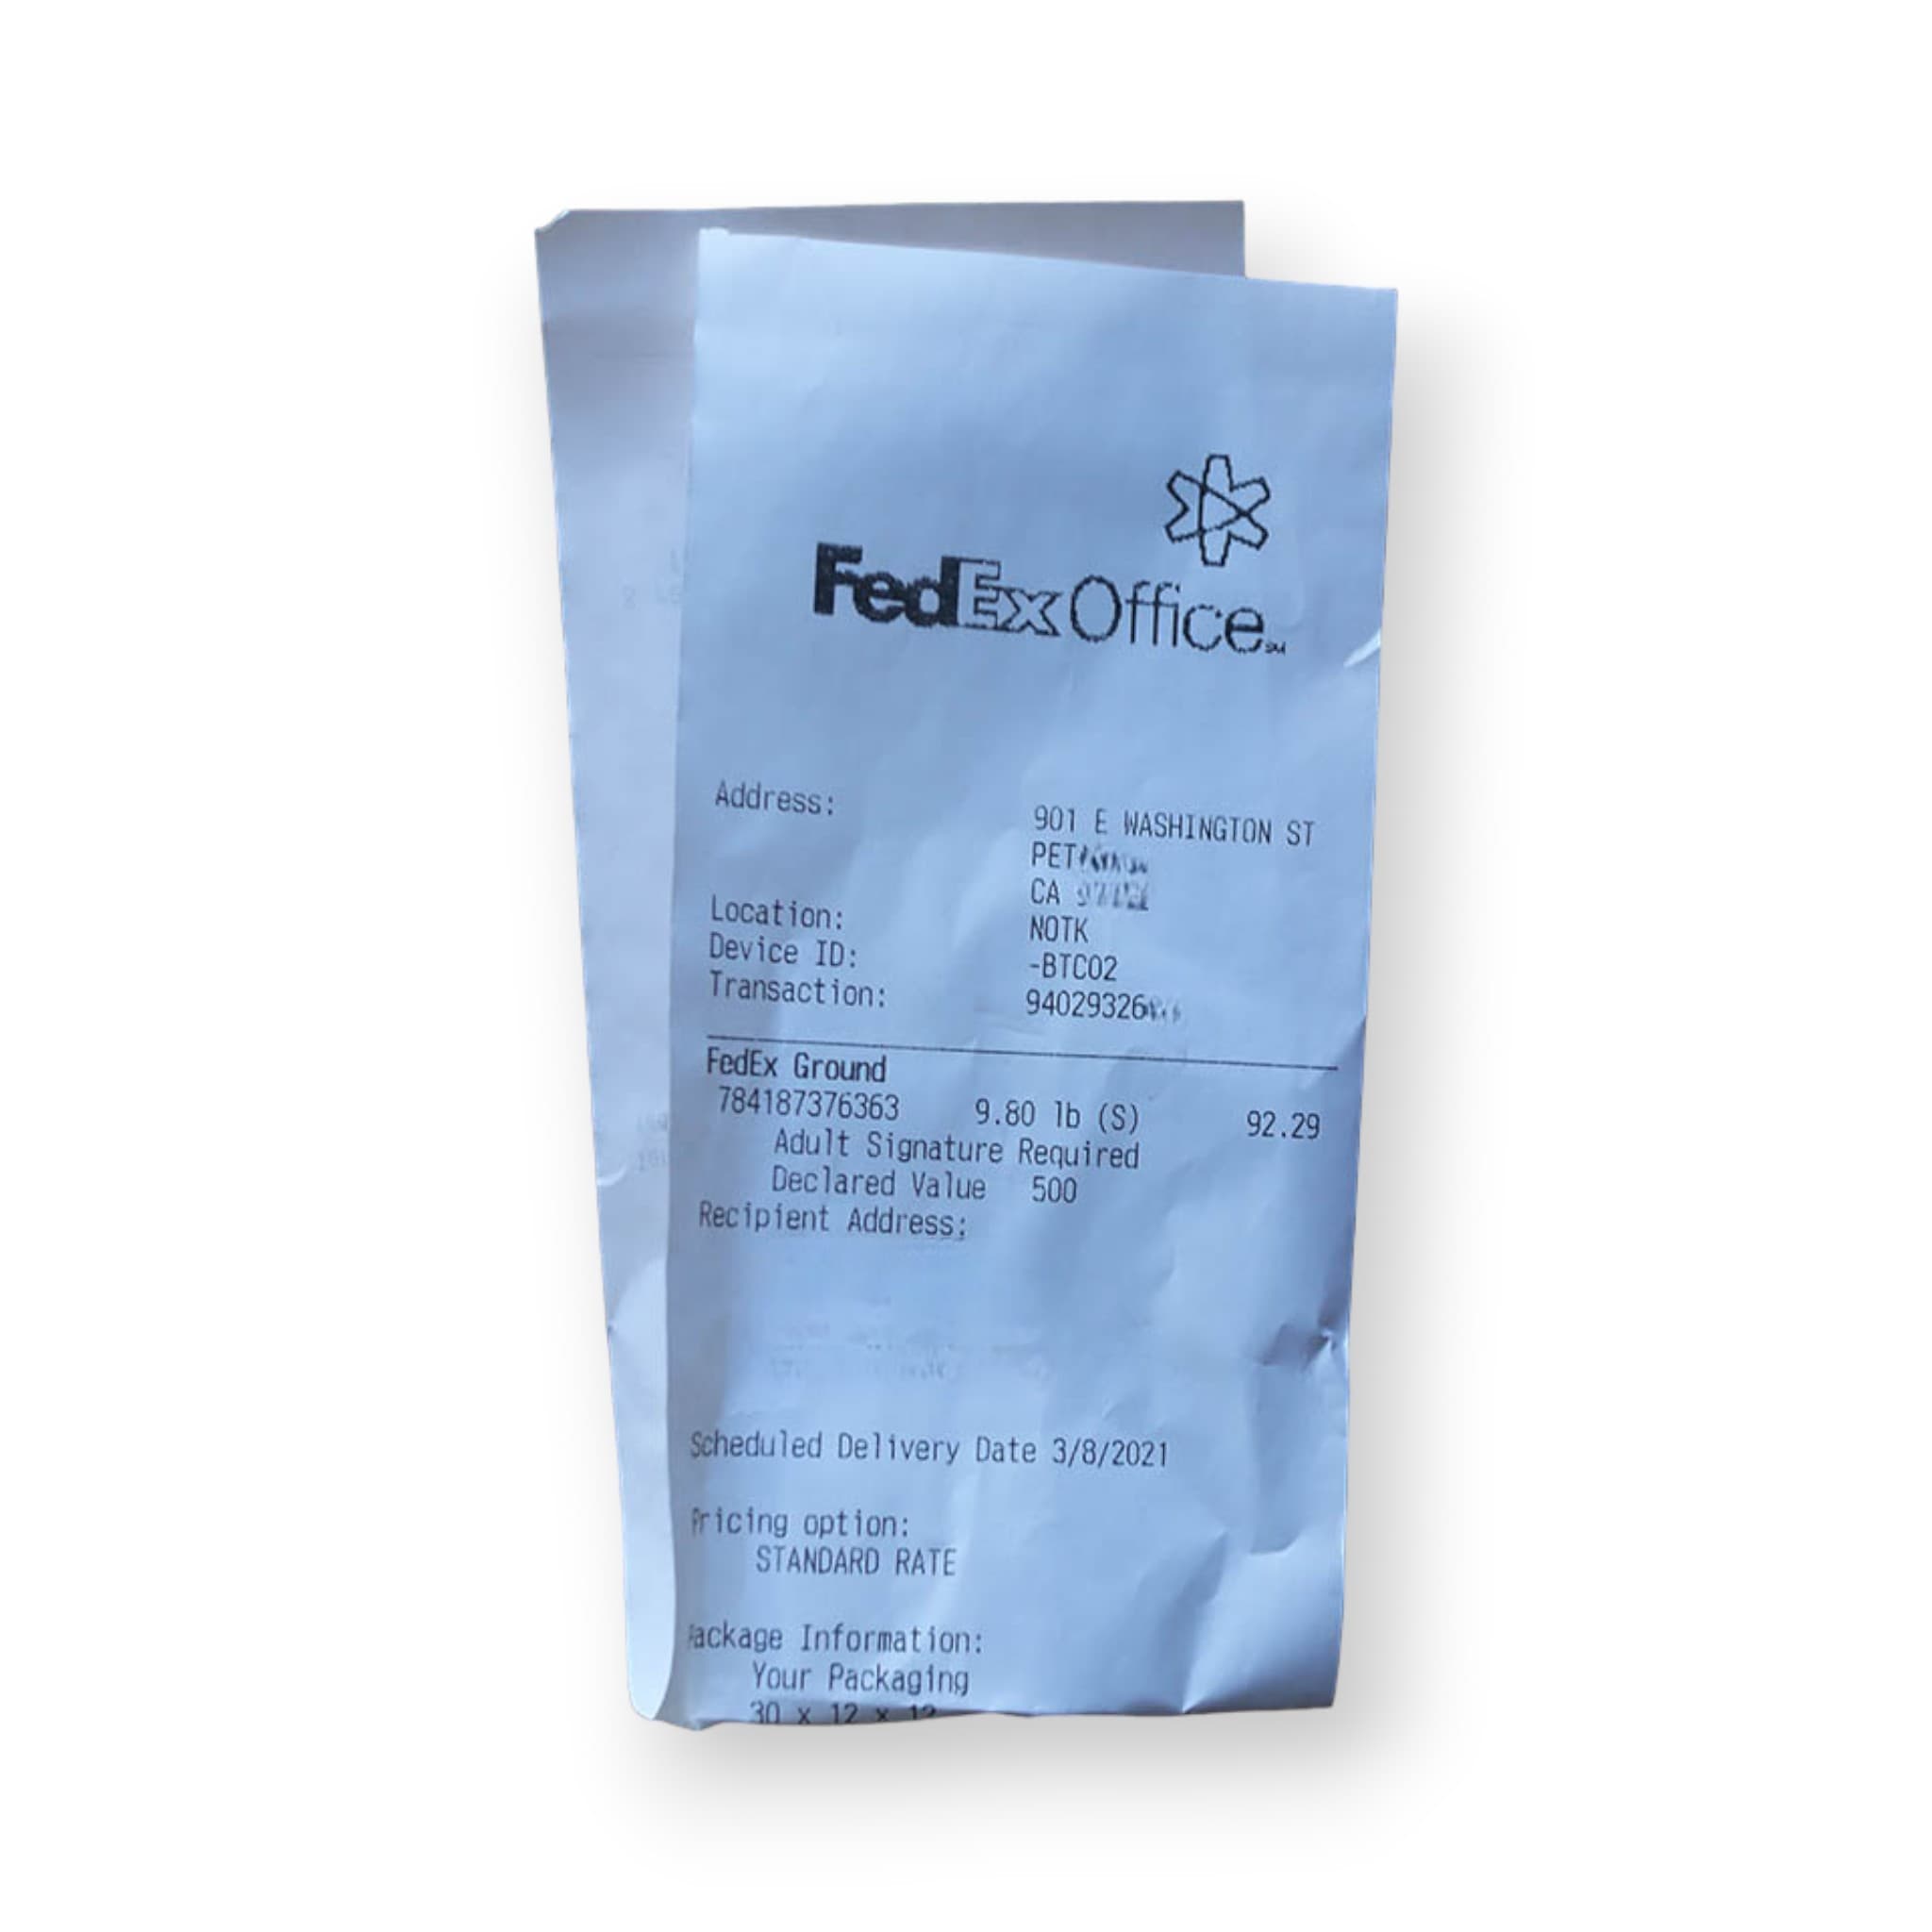
Step 7: Drop-Off or Schedule a Pickup In-Person and Obtain a Receipt
After you have completed the box process, simply drop it off at a FedEx location near you or schedule a pickup. You MUST obtain a physical drop-off receipt and CANNOT drop off at a location that is not FedEx branded (Grocery Store, Pack N' Ship, Walgreens, etc.) If you schedule a pickup, they will not provide a physical receipt, you may request them to have the receipt be emailed to you. Please avoid shipping over the weekend due to heightened risk. For two-day labels that means you must ship them Monday-Wednesday, whereas overnight labels can be Monday-Thursday. Please also avoid dropping off after the FedEx express cutoff or your package will sit in the FedEx office for the entirety of that day.
Please DO NOT:
Tell FedEx the value of the package
Disclose the contents of the package
Put Label in Plastic Envelope
Forget packing slip
Use your own labels to ship the package (You must use the labels that we provide)
Thanks for reading! Any other questions feel free to reach to us at [email protected] or open a ticket on our website.